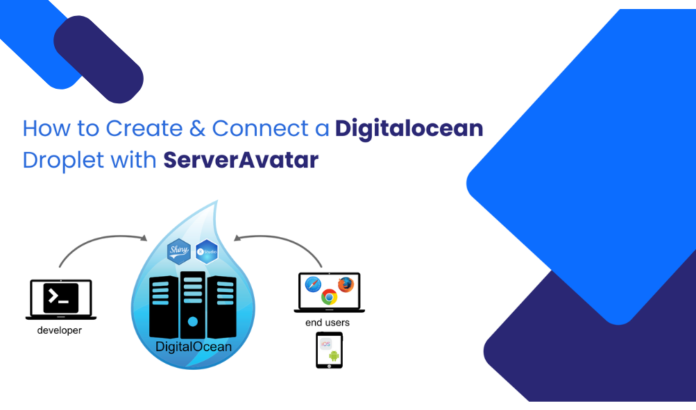
How to Create a Website with Digital Ocean Server: A Step-by-Step Guide
Creating a website from scratch can be a daunting task, but with platforms like DigitalOcean, the process becomes more streamlined and manageable. DigitalOcean provides reliable cloud hosting solutions that can empower your website with excellent performance, security, and scalability. In this guide, we’ll walk you through the steps to create a website using a DigitalOcean server. Whether you’re a beginner or an experienced developer, this SEO-friendly guide will help you get your website up and running smoothly.
Why Choose DigitalOcean?
Before we dive into the technicalities, it’s important to understand why DigitalOcean is a preferred choice for hosting websites. DigitalOcean stands out due to:
- Affordable Pricing: With plans starting as low as $5 per month, you can access cloud infrastructure without breaking the bank.
- Scalability: As your website grows, you can easily scale your server’s resources to handle increased traffic.
- Reliability: With 99.99% uptime, your website will experience minimal downtime, ensuring a seamless experience for users.
- Developer-Friendly Features: DigitalOcean offers one-click app installations, a rich set of APIs, and easy integration with various platforms.
Steps to Create a Website with DigitalOcean Server
1. Sign Up for a DigitalOcean Account
Head over to the DigitalOcean website and sign up using your email or social media accounts. After registering, you’ll need to verify your email address and add a payment method.
2. Create a Droplet (Virtual Server)
Once your account is set up, you need to create a “Droplet,” which is a virtual private server (VPS) hosted on DigitalOcean’s infrastructure.
- Step 1: In your DigitalOcean dashboard, click the “Create” button at the top right corner and select “Droplets.”
- Step 2: Choose the operating system for your server. Ubuntu is a popular choice for web hosting due to its security and large community support.
- Step 3: Select your plan. For most websites, the $5 per month plan (1GB RAM, 1 CPU) is sufficient to start.
- Step 4: Choose a data center location closest to your target audience for faster website performance.
- Step 5: Add SSH keys for secure access to your server. You can either generate an SSH key locally or use DigitalOcean’s web interface to upload it.
Once the Droplet is created, you will receive an IP address to access your server.
3. Configure Your Server
Now that your Droplet is live, it’s time to configure the server to host your website.
- Access your server via SSH: Open a terminal or SSH client and type the following command:cssCopy code
ssh root@your_droplet_ipReplaceyour_droplet_ipwith the actual IP address of your Droplet. - Update your server: After logging in, the first thing to do is update the package lists and install any updates:sqlCopy code
sudo apt update && sudo apt upgrade -y - Install a Web Server: To serve your website, you’ll need to install a web server. Apache and Nginx are popular choices. For simplicity, let’s install Nginx:Copy code
sudo apt install nginx -y - Check if Nginx is running: After installation, Nginx should start automatically. You can check its status with:luaCopy code
sudo systemctl status nginx - Configure the Firewall: Ensure that your firewall allows HTTP and HTTPS traffic by running:arduinoCopy code
sudo ufw allow 'Nginx Full'
4. Install a Database (Optional)
If you’re building a dynamic website, you’ll likely need a database. MySQL is a popular option that works well with Nginx.
- Install MySQL:Copy code
sudo apt install mysql-server -y - Secure your MySQL installation:Copy code
sudo mysql_secure_installation
5. Install PHP (Optional)
For websites built on content management systems like WordPress or custom PHP scripts, you’ll need to install PHP:
- Install PHP and necessary extensions:Copy code
sudo apt install php-fpm php-mysql -y - Configure Nginx to use PHP by editing the default Nginx server block configuration:arduinoCopy code
sudo nano /etc/nginx/sites-available/defaultUncomment the following lines:bashCopy codelocation ~ \.php$ { include snippets/fastcgi-php.conf; fastcgi_pass unix:/var/run/php/php7.4-fpm.sock; }Save and exit the file, then restart Nginx:Copy codesudo systemctl restart nginx
6. Upload Your Website Files
Now that your server is set up, it’s time to upload your website files.
- Access your server via SFTP: Use an SFTP client like FileZilla to connect to your server and upload your website files to
/var/www/html/. - Set correct file permissions:kotlinCopy code
sudo chown -R www-data:www-data /var/www/html/
7. Point Your Domain to DigitalOcean
To link your domain name to your DigitalOcean server, you’ll need to update your domain’s DNS settings.
- Log in to your domain registrar (e.g., GoDaddy, Namecheap).
- Update the A record for your domain to point to your Droplet’s IP address.
- Once DNS propagation is complete (which can take up to 24 hours), your website will be live.
8. Install SSL for Security
It’s crucial to secure your website with HTTPS by installing an SSL certificate. You can easily do this using Let’s Encrypt.
- Install Certbot:Copy code
sudo apt install certbot python3-certbot-nginx -y - Obtain an SSL certificate:cssCopy code
sudo certbot --nginx -d yourdomain.com -d www.yourdomain.com - Certbot will automatically configure Nginx to use SSL.


